Hey Everyone! Over the next few weeks, I am going to be sharing our Master Bathroom Remodel. It was a long process, spanning over a year, so I couldn’t really fit the entire renovation into one post. It just wouldn’t do it justice… and I want everyone to suffer as much as we did (mwahahaha)
Before we even put an offer down on this house, Eric and I knew that our redecorating would include more than just some fresh paint on the walls. We decided that we were ready to take on a full scale renovation. We were probably a little naive about the time and money it would take to get the house looking the way we wanted it to look. Eric and my Dad are both really handy, and I’m good at giving out directions (…useless, I know), so we thought that we could handle a lot of the renovations on our own…famous last words.
The first thing we wanted to address was the cigarette smoke that permeated throughout the master bathroom and garage. We tried everything from scrubbing the walls to having a professional come in to replace the HVAC system and clean and neutralize the air in those two spaces. While the garage smell improved, the master bathroom still smelled like an ashtray.

Here is my wonderful mom washing down the walls in the master bedroom

Eric sanded down the “popcorn” ceilings in every single room in the house, including the closets (what a gem)
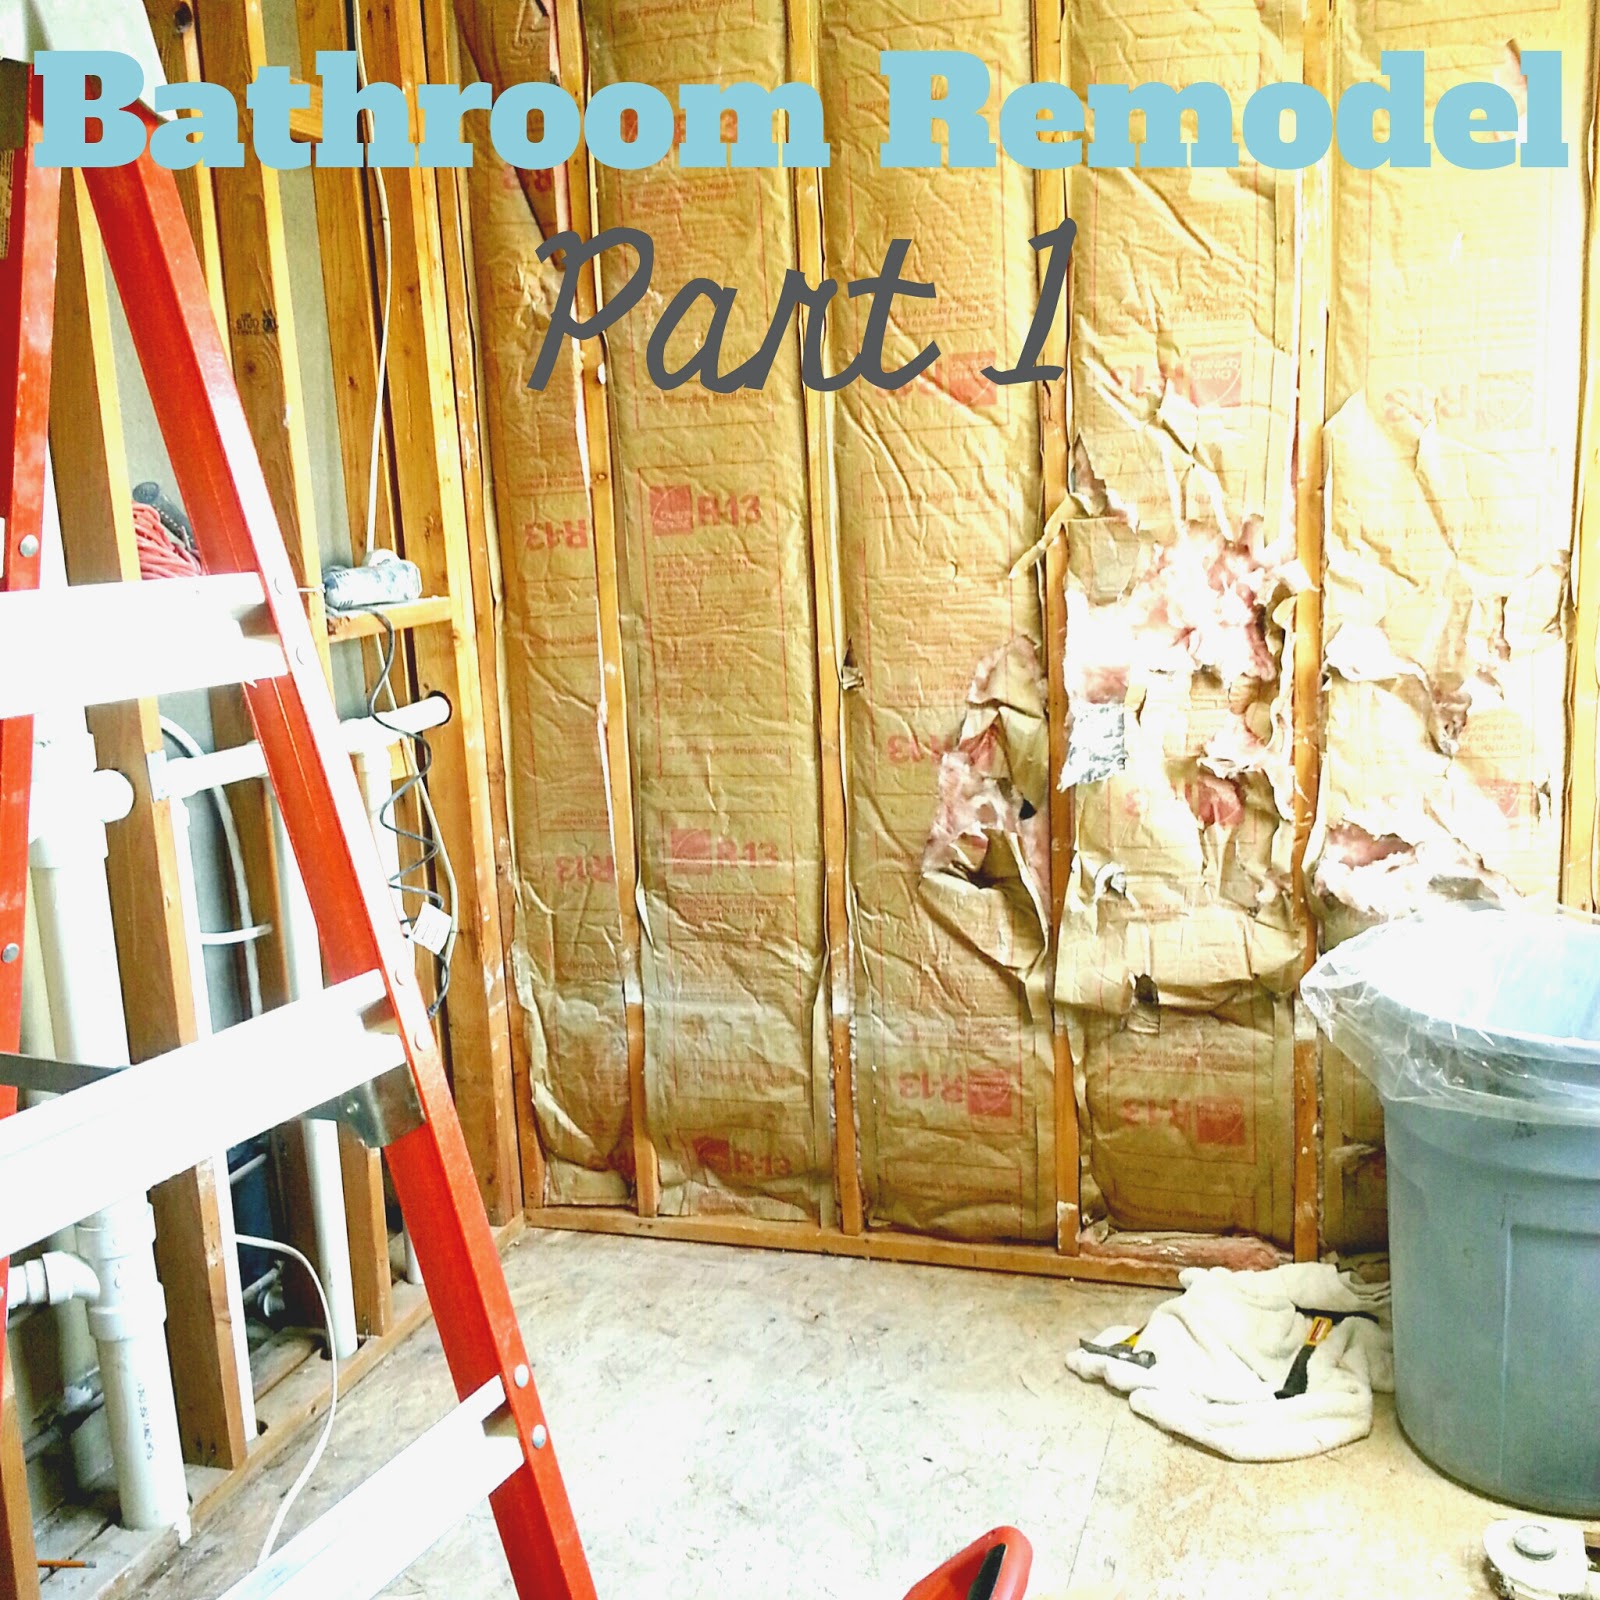
Originally, we were going to do minor upgrades in the master bathroom, but since we couldn’t get rid of the smell of smoke, we had to take more drastic measures. We decided to fully gut the bathroom down to the studs and subfloor.

This is the original bathroom that we inherited
We (and by “we”, I mean Eric) started by removing all of the hardware on the vanity.

We then moved on to removing the wall mirror. This was one of those ugly framless mirrors that was glued to the wall and held in place by rusted metal tracks. Once we removed the brass light fixture, we discovered that the glue had lost its adhesive-ness (not sure if this is a word or not, but you get the idea). We carefully removed the mirror and unscrewed the tracks from the wall.

We also removed the bathroom vanity. The only help I provided during this stage was to gather up anything Eric dropped on his way to the garage. Next, we removed the toilet and plugged up the pipe with an old dish towel to avoid the smell spreading throughout the house (I know..eww).


The bathroom sat like this for about three months. I think we were both discouraged that we couldn’t salvage any of the bathroom. On the other hand, it was exciting to know that when we did finally finish the bathroom, it would be totally new and totally ours!
Somehow, our families thought that it was a great idea to have Thanksgiving at our house. Obviously we were thrilled and happy to have everyone, but we were one bathroom down and housing both of our families for 5 days. On the plus side, while our families were visiting, I forced Eric and my Dad to finish the bathroom demolition. Don’t worry, they were fed lots of turkey as payment! Turkey legs, turkey sandwiches, turkey casserole, turkey and potato croquettes…

Eric and I also decided that we wanted to level off part of the vaulted ceiling to provide a flat surface for recessed lighting and possibly a rainhead shower. Eric and my dad framed out the new ceiling using 2 x 4’s.


They are so proud of their work!
Once we finished gutting the room and framing out the new ceiling, we worked on coming up with a new floorplan that could give us all of the things that we wanted. Our wish list included: a double vanity and a double shower. We soon realized that we would have to move around the plumbing in order to maximize the space that we had (about 9′ x 12′). For this, we needed to find a licensed plumber. We didn’t feel comfortable moving the plumbing and drilling holes in beams ourselves.
This is how we redesigned our bathroom floorplan:
Before After

You wouldn’t think that our wishlist would be much to ask for in a master bathroom, but it took us almost 5 months to find a plumber who was on board with our plans. We were told that there was a chance that we would have to open up the kitchen ceiling (below the bathroom) to get to some of the pipes. Luckily, the plumber was able to move everything without doing this. Stay tuned for more on this Master Bathroom Overhaul!


2 Comments
Eric Lawler
September 19, 2014 at 9:58 pmWow, that looks like a lot of work!
Kristen
September 20, 2014 at 9:27 pmIt was! Good thing my family are hard workers!!