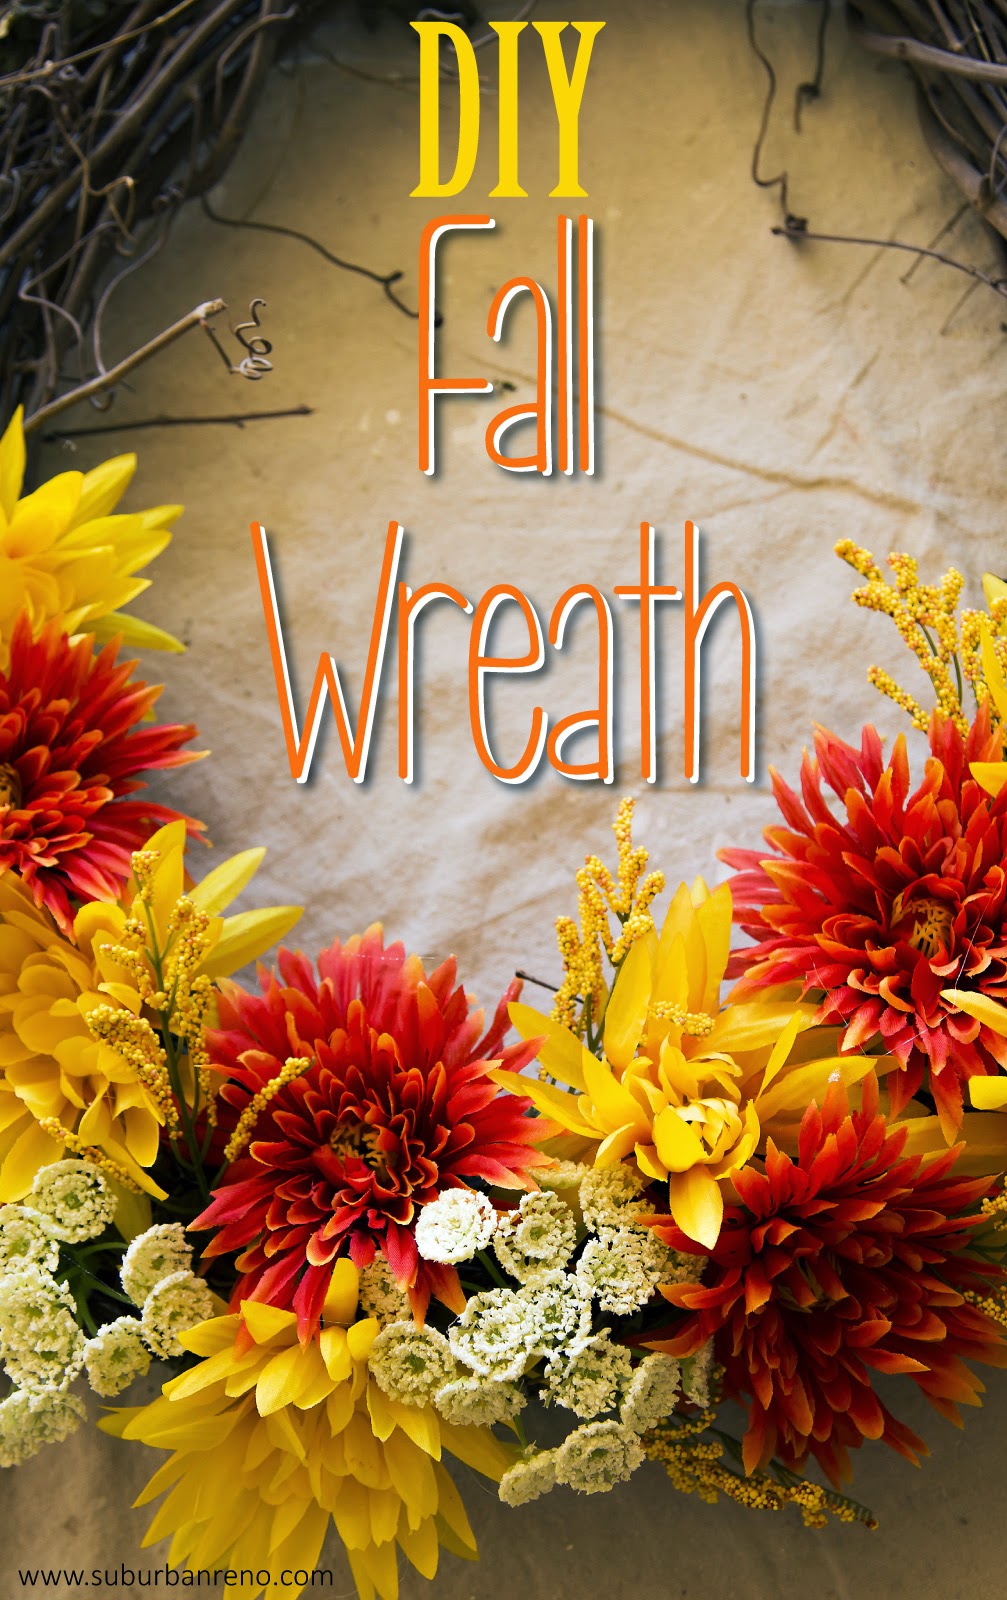
Hey Everyone! Fall is passing by so quickly, so before everyone is “over” Fall and onto Winter, I wanted to share this Fall Wreath Tutorial with you! This is a quick, easy and inexpensive way to dress up your front door or mantle, adding a festive Fall look to your home! I only burned myself once or twice with the glue gun…
I’ve been seeing tutorials for wreaths everywhere lately, so I figured I would try my hand at one for my own house. My first step was to head over to JoAnn’s and check out their faux flower collection. I found some great options in bright yellows and oranges.
I also picked up a branch wreath for less than $2. The flowers I chose varied in size from large, circular flower to small, whispy flowers. I thought that the different shapes and sizes would mkae for a more interesting wreath. My supplies included 4 different types of flowers (about 5-7 of each), a branch wreath and a glue gun.

Shockingly enough, this is actually Eric’s glue gun that he used to use when he would build model airplanes and cars!
The first step is to pull or cut all of the flowers off of their stems. I started with the largest flowers and placed them around the wreath. I placed the flowers in the bottom half of the wreath before I glued them down to make sure I liked the way everything looked.
Once I glued down the largest yellow flowers, I moved on to the large orange flowers, then the medium sized mint colored flowers and then finally sprinkled in the whispy yellow flowers. I don’t know the names of any of these flowers, sorry everyone!
I decided to keep the flowers on the lower half of the wreath and leave the top portion empty, but you can feel free to let your creative juices flow and come up with any design you can think of!
Once the glued dried, I pulled off all of the glue strands that were all over the flowers and then got out my trusty wreath hanger that we used for our Christmas wreath last year and hung this baby on the front door! I also added a piece of ribbon to hide the metal wreath hanger and give the wreath a more finished look!
That’s all there is to it! I hope you enjoyed this tutorial!! Come back again soon!!


7 Comments
Gale
October 29, 2014 at 12:14 pmI like how you used the wide ribbon to hang the wreath.
Kristen
June 10, 2015 at 4:48 pmYes, I thought it really gave it a finished look!
Jennifer
October 30, 2014 at 12:54 amI thought the flowers were real at first!! great that they aren't you can use them next year too!! #boom
Kristen
June 10, 2015 at 4:48 pmThank you Jennifer! I will definitely be putting this wreath up again next fall!
10 Decorating Ideas to Make Your Home Cozy for Fall
August 27, 2015 at 6:37 am[…] Make this adorable fall wreath using faux flowers and hot glue! Get the tutorial at Suburban Renovation […]
17 Artistic and Straightforward DIY Fall Adorning Tasks | play1.me
September 12, 2015 at 2:58 pm[…] http://www.suburbanreno.com […]
59 Ingenious Fall Wreath Designs Ready To Inspire You | Club Oferteproprietari.ro
October 10, 2015 at 5:53 pm[…] continue with the others. You can only cover the bottom part of the wreath such as described on Suburbanreno or the entire […]