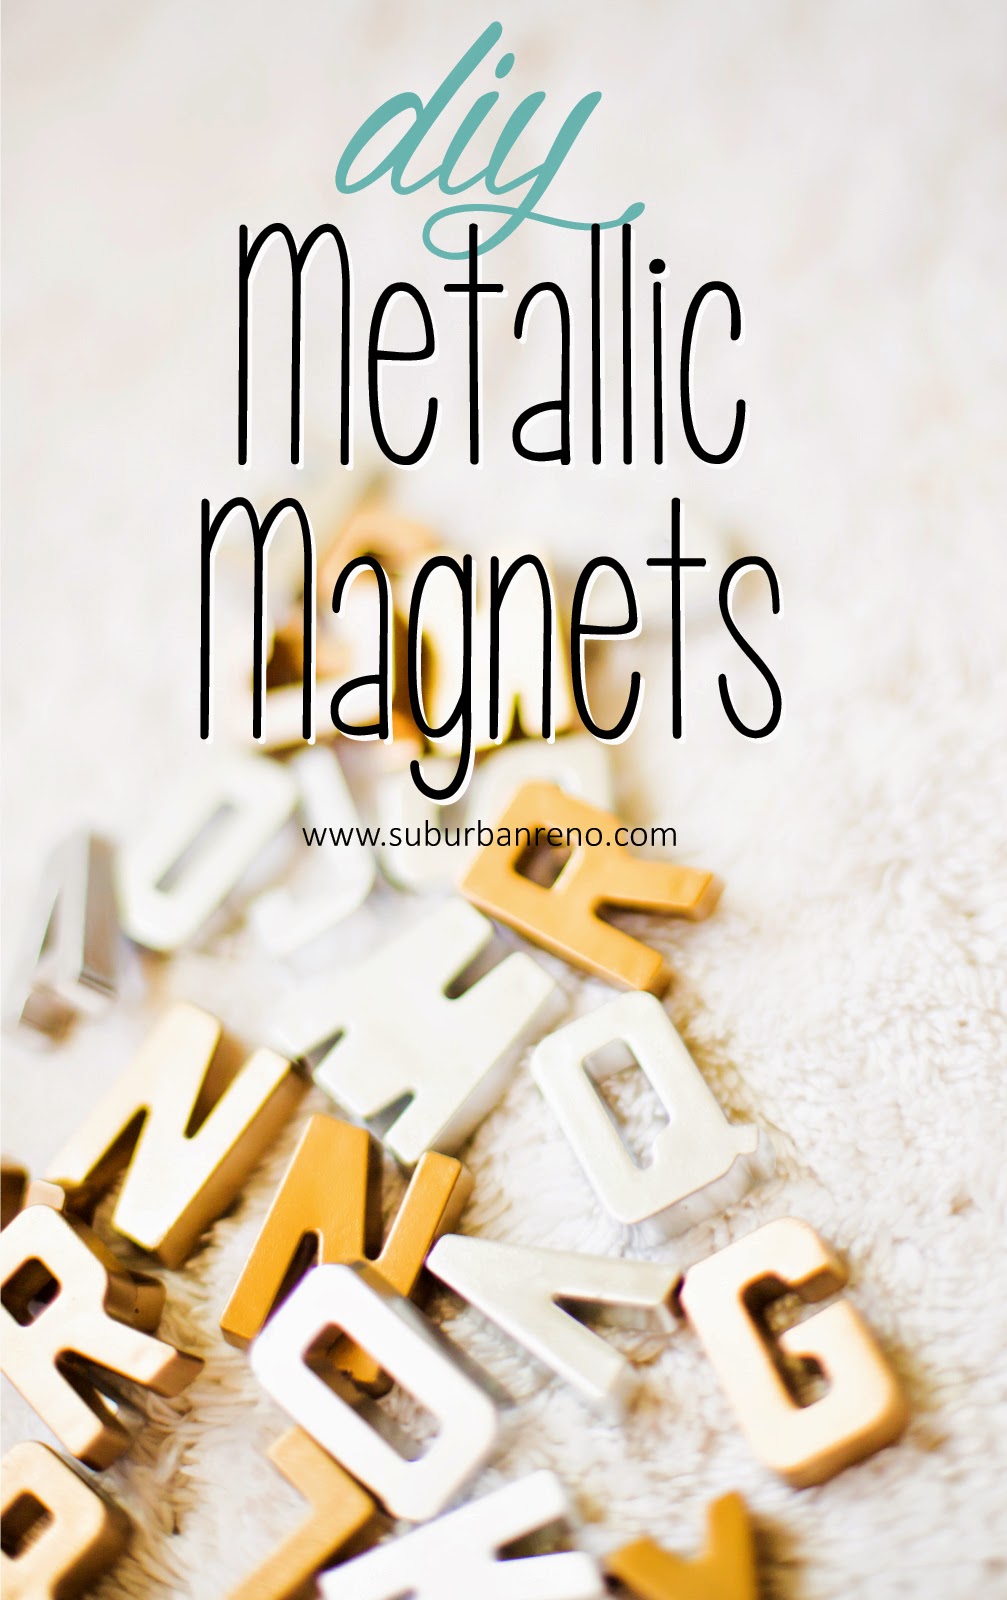
Hey Everyone! I wanted to share a quick and inexpensive craft project that will dress up your refrigerator! That’s right, DIY Metallic Magnets! I am on a total metallic kick lately (my husband doesn’t get it), but you know exactly what I’m talking about! These turned out great and I’m so happy that I tried my hand at these!
I got this idea here and I just had to have these myself so, I dragged Eric around all weekend to Home Depot, Target, JoAnn’s, Michael’s, etc. etc. etc. I wanted to stock up on materials for some projects that I have been hoping to complete.
First, and most importantly, I invested in a Rust-oleum Comfort Grip Handle for my spray paint cans (you can purchase here). If you remember My First Rehab post, I had some trouble with the Rust-oleum Universal Gloss White spray can. The Comfort Grip Handle made spraying these magnets a sinch!
I used the Rust-oleum Ultra Cover Primer and Silver and Gold Metallic spray paint. As you can see, I ended up using Valspar instead of Rust-oleum metallic paint. Unfortunately, after visiting two Home Depot’s and ones Lowe’s, I gave in and used a different brand of spray paint (because Eric made me). There is really no difference between the two brands, and the Comfort Grip handle worked with both.
I found these alphabet magnets at Target (actually at the second Target that we stopped at…sorry Eric). I found some cheaper ones at Walmart, but they weren’t quite as nice, so I splurged for the extra $1 per package.
I separated the letters into two groups (I bought three packages in total) and left some space between them. Using my new Comfort Grip Handle, I primed both the front and back of the letters. I let the primer dry for about 20 to 30 minutes.
I had to prime twice to fully cover the bright colors.
After letting the primer dry for another 20 to 30 minutes, I sprayed each group with the first coat of metallic paint (one group in silver and the other in gold). I had a little trouble with the gold spray paint bottle. It had a dripping problem, but I managed to blend some of the drops that got on the magnets. In total I sprayed the front side twice and the backside once. Make sure you don’t spray a thick layer on the back to ensure that the magnets still work after the paint dries.
Here is what my awesome magnets look like! I look forward to many years of spelling out funny, naggy and loving messages to Eric. If you try this one, send me your finished products and they may end up on the blog! Thanks for stopping by!


No Comments