Hey beauties!! It’s a new year and I thought it would be great to share my new beauty routine with you! A few months back, I shared my Makeup Regime on the blog (check it out here) and so I thought it might be helpful to also share a makeup tutorial. To keep the tutorial manageable, I am going to share my foundation and contouring tips in this post and then my perfect Cat Eye tips in another!
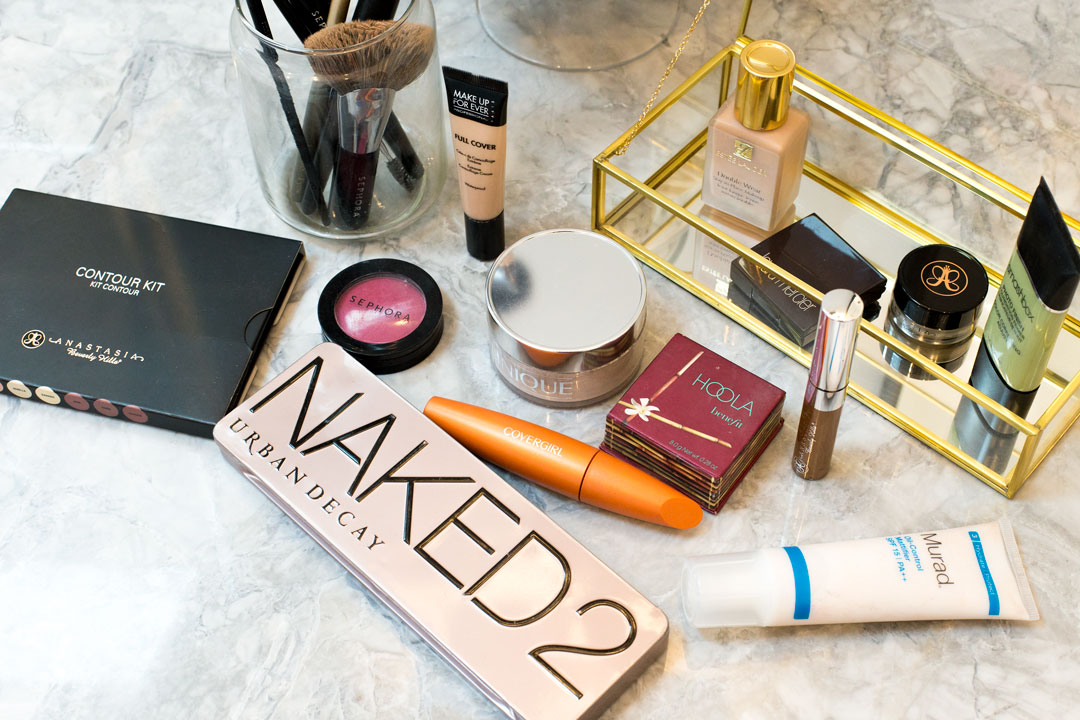
I have two primers that I swear by. The first is the Smashbox Photo Finish which is great for hiding redness that you have on your face. The second is the Murad Mattifier which is a magical oil controller. I have super pigmented and oily skin, so this duo is a must for me!


Once I have applied these primers, I move on to my new foundation, Estee Lauder Double Wear in Fresco. This foundation has been amazing for me. I have found that it doesn’t clog my pores and it helps combat my oily skin, keeping my face looking as good all day as it did when I first applied my makeup. I am using the Sephora Foundation Brush #53 to apply the foundation.

The foundation bottle does not have a pump, so I usually put a drop on my hand and dip my brush in it. I have heard that the Mac foundation pump works great with this bottle, but I haven’t tried it yet.

Using the brush, I spread the foundation evenly over my face. I am careful not to put on too much, or the foundation can look cakey. I also blend in the foundation with my finger around my nose and hairline to make sure there is no excess and that there is no line delineating my skin from the foundation. As a sidenote, I usually add my Make Up Forever Concealer to any blemishes I have before I apply my foundation. I also use the concealer under my eyes both before and after I apply foundation to ensure that any dark circles are well hidden!
Check out my post here to see how I color matched my foundation!


The next step is to use setting powder to lock in your foundation. I use Clinique Powder applied with the Setting Powder Brush #53. I have always been a Clinique girl, but I have heard amazing things about the Laura Mercier Setting Powder as well!


Next, I apply a light (or heavy depending on your preferences) layer of bronzer. I am using the Hoola Bronzer by Benefit.


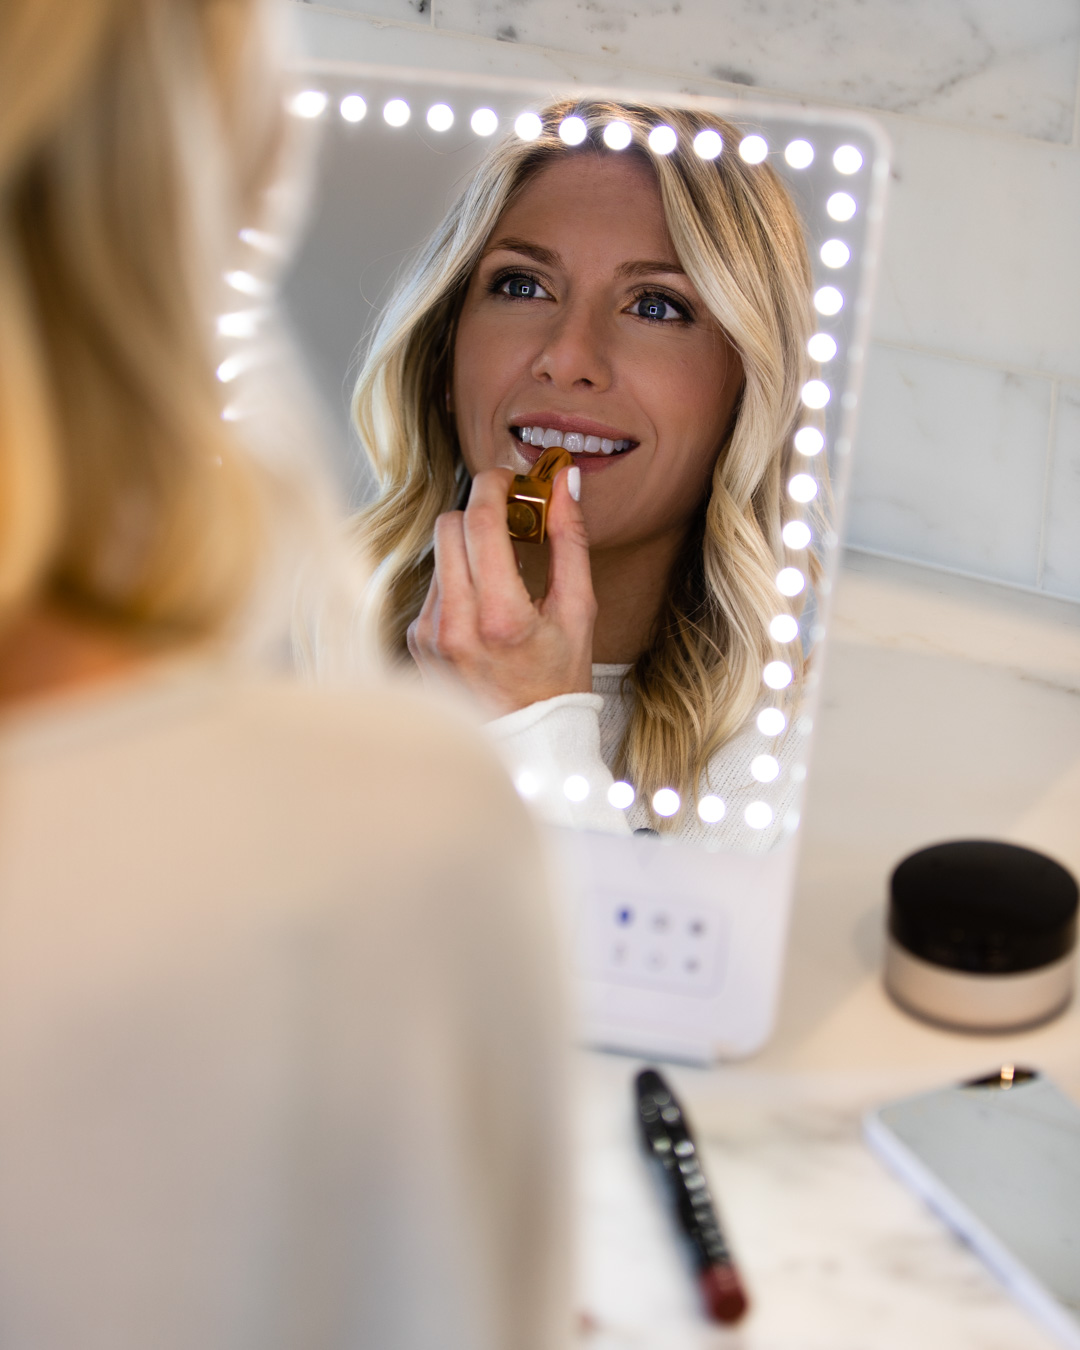
You can get my v-back sweater here and my earrings here!

On a daily basis, this is usually where I stop. I usually do a little bit of contouring with my bronzer and call it a day (because I am human). For those special occasions where I feel like going above and beyond, I use my Anastasia Contouring Kit in Light to Medium and Contouring Brush #75 to contour my face.


Using the contouring brush and the medium contour color, I low light my cheekbones, my hairline and my nose. Using the contour brush and the medium highlighting color (directly above the one I am using in the picture), I highlight my cheekbones, forehead, chin and nose.
This will give depth and dimension to your face!

Finally, I add a little blush to bring some color back into my face. I am using this Blush in “Hey Jealousy”.

Finally…eyebrows. I do my eyebrows last – before the Cat Eye of course. I recently discovered Anastasia Dip Brow in Blonde, which is applied using this Brow Brush. This product is literally my savior! I have average eyebrows. I take care to shape them, but I noticed that they were not as thick or manicured as others I had seen around. I finally realized that there was makeup for that…because why wouldn’t there be right?


The dip brow should be applied sparingly to ensure that your eyebrows don’t come out clown-like. I usually follow the natural arch of my brown (both above and below) to get a nice, crisp line. I then lightly fill in the middle to really define my brow. Finally, I draw in little wisps (to look like hairs) on the inner most part of my brow. Sometime I need to blend this part in with my finger so that the line isn’t too defined (ie. too clown-like)!

To hold my brows in place, I use the Anastasia Brown Gel, which is also amazing!


Check out my DIY Herringbone Art post for details on the painting in my bathroom. Also, check out my Master Bathroom Reveal – Part 1 and Part 2 if you want to see how we renovated our bathroom to look the way it does today!
That is my everyday makeup routine and tutorial! I will be posting a tutorial on how to get the Perfect Cat Eye soon, so stay tuned! Thank you so much for stopping by!

10 Comments
Holly
January 14, 2016 at 3:12 pmGreat tutorial! I love the Anastasia Contour Kit! <3
Kristen
January 19, 2016 at 9:33 amThank you Holly! I really love it too! The colors work well for my skin and I think it can be applied naturally or really dramatically too!
xoxo, Kristen
Ciera Chang
January 14, 2016 at 5:35 pmYour skin is flawless! I love Smashbox primer and I’ll have to try out that Estee Lauder foundation!
Xoxo,
Ciera
Kristen
January 19, 2016 at 9:34 amThank you so much Ciera! My skin is far from flawless, but these products sure make it look that way…especially the Estee Lauder foundation! I would highly recommend it!
xoxo, Kristen
janna doan
January 14, 2016 at 6:41 pmkristen–thanks so much for sharing your routine because your face is always perfect! i love your writing style “because I am human”! lol. dip brow is amazing and yes must be used sparingly!! BTW–LOVE YOUR BATHROOM!!!! major inspo. xoxo,
janna | http://www.jannadoan.com
Kristen
January 19, 2016 at 9:36 amThank you Janna! I can’t believe that anyone would call my skin perfect…I have struggled with it my whole life! I am so happy that I finally found some products that make it appear that way at least!
We are so in love with our bathroom reno!! Thank you so much for your kind words!!
xoxo, Kristen
Kait Elizabeth
January 14, 2016 at 7:28 pmFantastic post gorgeous! I need to try the Smashbox primer; the Brow Dip is the bestest product ever. Hugs, Kait
http://makeminemaroon.com/
Kristen
January 19, 2016 at 9:37 amKait – Both primers are amazing and obviously the Brow Dip is just beyond!! Thank you so much for stopping by!
xoxo, Kristen
Ruthie
January 18, 2016 at 7:58 amTHIS WAS SO WELL DONE!!!! Thank you for sharing!! You and I use a few of the same products!! I live by that dip brow, girl!! xo
Kristen
January 19, 2016 at 9:38 amRuthie – Thank you so so so much! You are so supportive and sweet! I never knew I could have such great eyebrows until I bought that dip brow!! Thank you for stopping by!
xoxo, Kristen