Hey Everyone!! It has been a while since I have painted, so I wanted to share this great DIY Chevron Art tutorial. I am not an artist by any means, but if you have some creativity and a little patience, you can create these paintings easily!
Check out my DIY Herringbone Art tutorial for additional tips!
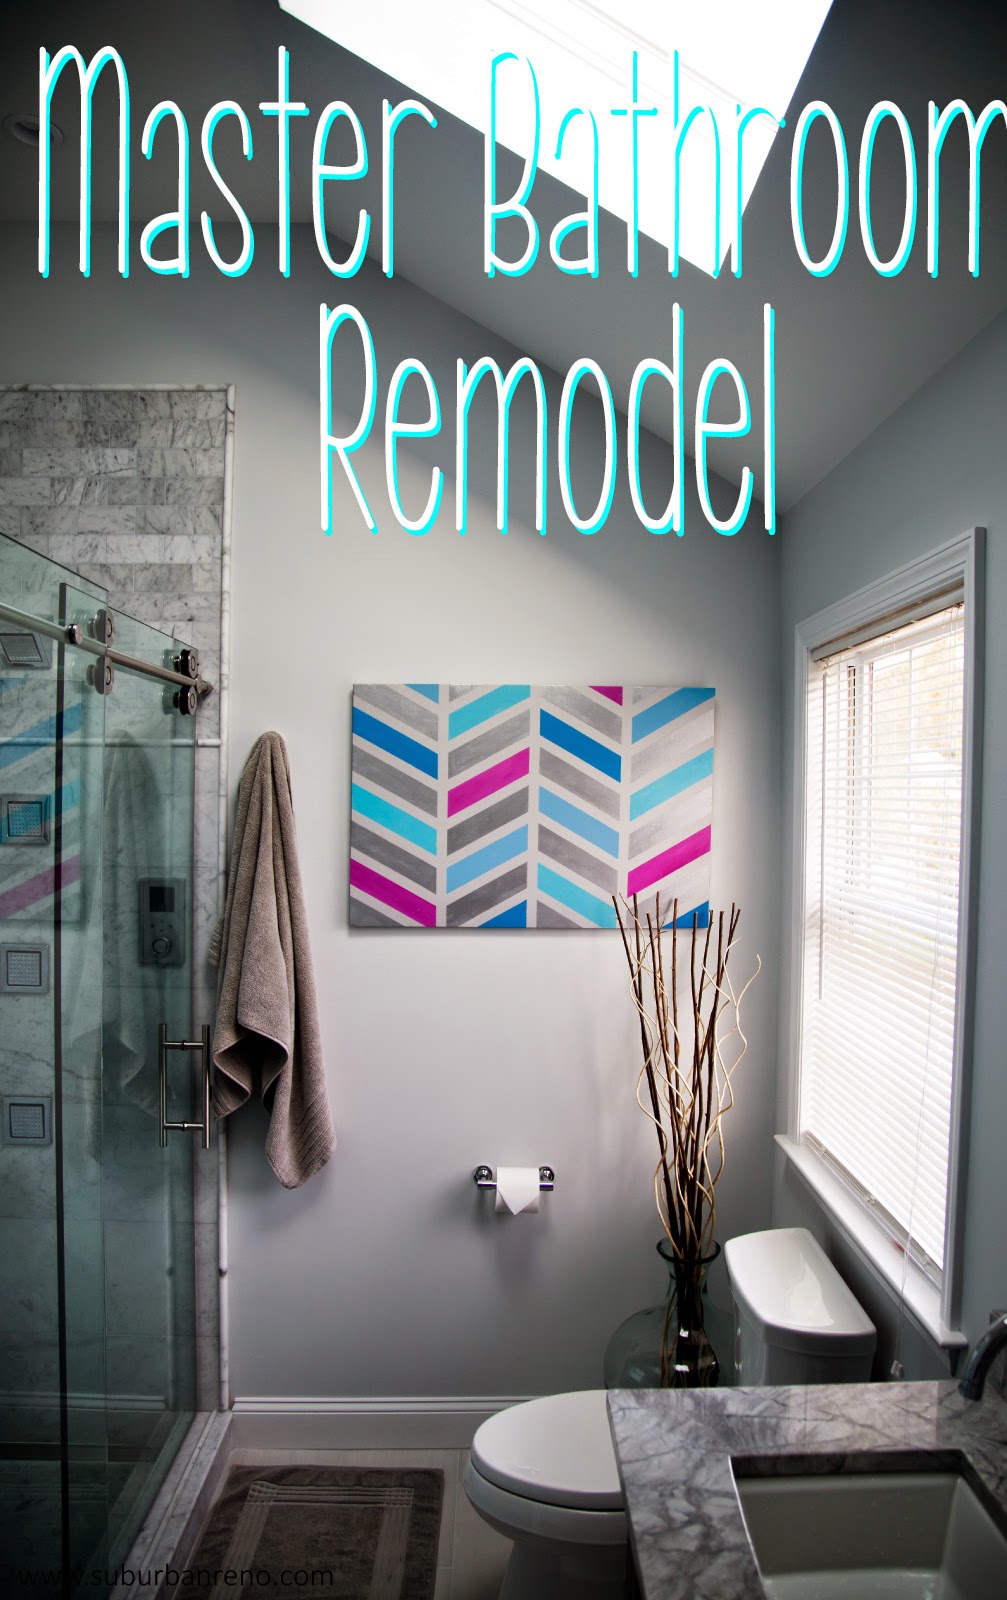
If you recall, we bought our house almost 2 years ago. Since then, we have 2 pieces of art on the walls; my great DIY Herringbone painting that is in our new master bathroom and this guy:

Funny story, last New Years Eve, we visited my sister-in-law and went to this classy, black tie party. There was a silent auction and somehow I found a slightly (possibly more than slightly) inebriated Eric placing a large bid on this picture. I let it go because I know how much he loves Bond, but I think you can see why I have taken up painting! Now back to the tutorial!
I bought a 3-pack of 12×12 canvases at JoAnn’s for less than $10. The first step is to paint a base coat onto the canvas. I used some flat white paint that we had laying around the basement. Once you paint your canvas (as well as the sides), let the paint dry for at least 30 minutes.

Next, using blue painters tape, I started mapping out my design. I really didn’t have a plan in mind, instead, I divided the canvas into equal sections using a tape measure and just went to town with the tape.

I used my liquid leaf gold paint (affiliate link) to create really cool chevron shapes. I also used a deep navy to add a pop of color. I let these dry over night, although the paint is probably dry in about an hour. Once the paint is dry, peel off the tape to reveal your unique design!

Beware that your paint will probably bleed under the painters tape. I haven’t found a way to stop this from happening, so any tips would be welcome! Once I peeled off the tape, I touched up the edges by hand with the flat white paint that I used as the base coat.

This can be a bit tedious, but it will make your painting look more finished and professional!
Using these great Picture Hangers called “Monkey Hooks” (affiliate link here), we were able to hang these in less than 5 minutes.

We, meaning Eric, measured the center of the wall that we were hanging the pictures on.

Next, Eric pushed the Monkey Hooks into the wall and voila!!

The Monkey Hooks website gives a great tutorial for how these work!
These paintings are hanging in the guestroom so any guests that stay over can see how amazingly creative and artistic I am….HA!
![]()
In all seriousness, these came out great and they are a great way to add some unique and interesting art to your home! Check out the Style by Stassi blog for a peak at some larger scale versions of these paintings!
![]()
I hope you enjoyed this tutorial and that I will see you back here again soon! Enjoy!!

No Comments